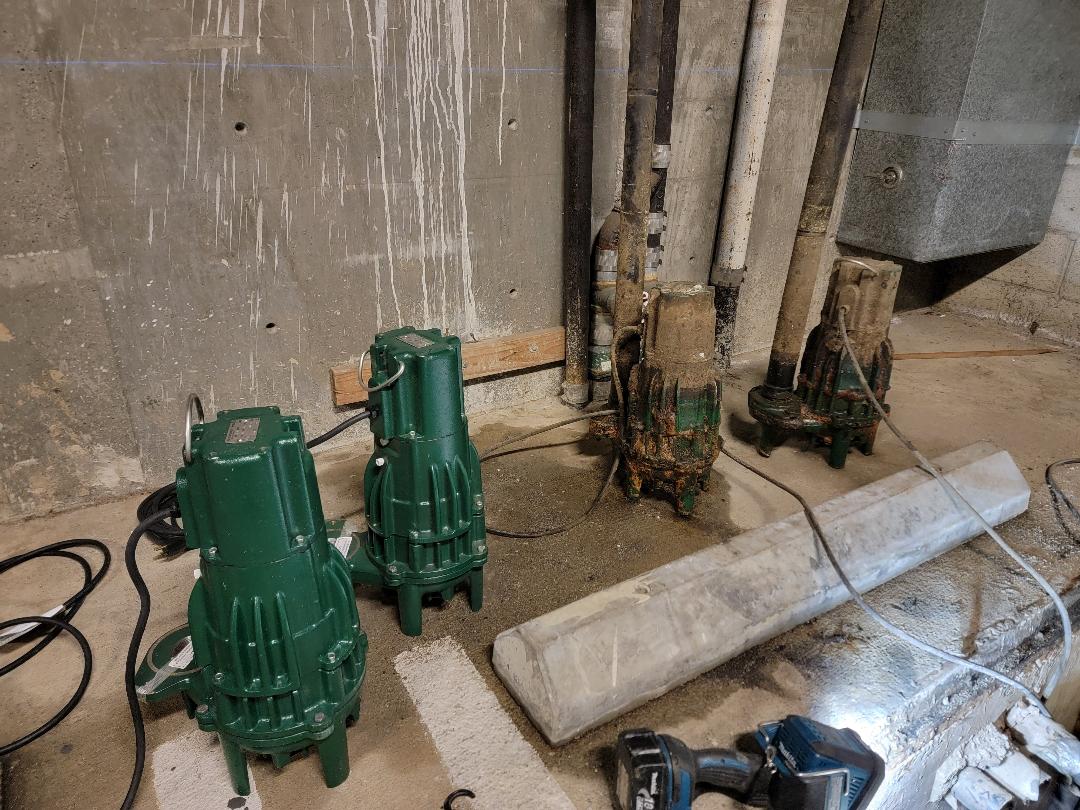
What is a Sump Pump and How is it Replaced?
A sump pump is a device used to remove water that has accumulated in a sump pit, which is a small, usually underground, container designed to collect water from the basement or low-lying areas of a building. These devices are commonly found in residential basements or crawl spaces.
The main purpose of the system is to prevent water damage caused by flooding or excessive groundwater. When water enters the sump pit, either through drains or natural seepage, it automatically activates to pump the water out and away from the building’s foundation, usually through a discharge pipe that leads to a safe drainage area, such as a municipal storm drain or a designated drainage area on the property.
Sump pumps are typically powered by electricity and have a float switch or pressure sensor that triggers the pump when the water level in the sump pit rises above a certain threshold. There are two main types of sump pumps: submersible pumps, which are placed directly inside the sump pit, and pedestal pumps, which have a motor mounted on a pedestal above the sump pit.
They help prevent water damage, mold growth, and structural problems caused by excess moisture. It is important to regularly maintain and test the system to ensure they are in proper working condition when needed.
What is involved in the replacement of new units?
-
Gather the necessary tools and materials: You’ll need a new sump pump, a check valve (if not already installed), a wrench or pliers, PVC pipe or tubing (if required), PVC cement or hose clamps (if using tubing), a utility knife, and a bucket.
-
Turn off the power: Locate the circuit breaker that controls the sump pump and switch it off to ensure your safety during the replacement process.
-
Remove the old pump: Disconnect the power cord from the outlet and detach any pipes or hoses connected to the pump. Use a wrench or pliers to loosen and remove any fittings. Lift the pump out of the sump pit and place it aside.
-
Inspect the sump pit: Take a moment to inspect the sump pit for any debris or sediment. Clean it out using a bucket or a wet/dry vacuum if necessary.
-
Install the new unit: Place the new unit in the pit, ensuring it sits level and stable. Connect any necessary pipes or hoses to the pump, making sure to use appropriate fittings or clamps. If required, install a check valve on the discharge pipe to prevent water from flowing back into the pit.
-
Test the unit: Once the installation is complete, pour water into the sump pit until the float or sensor activates the pump. Verify that the pump starts and effectively removes the water from the pit. Check for any leaks or issues with the connections.
-
Secure the power supply: Connect the power cord of the new unit to a grounded electrical outlet. Ensure that the circuit breaker for the pump is switched on.
-
Perform regular maintenance: Follow the manufacturer’s instructions for ongoing maintenance, such as cleaning the sump pit, testing the pump periodically, and replacing any worn-out parts when necessary.

